Boat projects have a habit of taking on a life of their own. Cambria is 20+ years old. That’s 20+ years of wear and tear in a harsh environment. That’s 20+ years of many people fixing things or making improvements. It means that a big part of any project is figuring out how the last person set things up deciding if that’s the best way to have done it, creating a course of action and then doing it. It’s never simple. Take our radar for example.

Our radar was the original unit that was used to sail from the UK to New Zealand. It was the same radar used by the couple we bought the boat from to sail around New Zealand, the South Pacific and then the Pacific northwest for 15 years. The radar was working when we bought the boat but it didn’t work for long.
No problem, I got to work and researched various radar systems and how to install them. Radar has changed a lot in recent years. These days most people don’t buy stand alone radars. They buy Multi Function Displays (MFDs). MFDs show radar images but they can also display navigation charts, instrument gauges, even photos and videos. We bought an MFD. MFDs are basically computers–very expensive computers.
Radars need more than a screen (the MFD). They need a transceiver. The transceiver is the thing you see mounted up high on a boat–the thing that turns. The transceiver sends and receives the radar pulse. Our old transceiver was mounted on a stainless steel arch at the back of the boat. (It’s creatively called the radar arch.) The new transceiver needed two cables run from the radar arch to the MFD (the screen) inside the boat. The cable from the old radar wouldn’t work. They use different cables for radar these days. We had to pull the old cable out of the arch and pull the new one through. Other cables had been added to the radar arch over the years so things were pretty jammed up. The old cable was stuck in there pretty well. It took several days and several attempts before we got it out. While we were at it we pulled some other cables out of the arch because they weren’t attached to anything. They were just taking up space and making our job difficult.
Next came the step of bolting the new radar transceiver to the arch. The new radar transceiver came with a paper jig showing where to drill the mounting holes in the arch. As luck would have it, the holes perfectly matched the holes from the old radar transceiver.
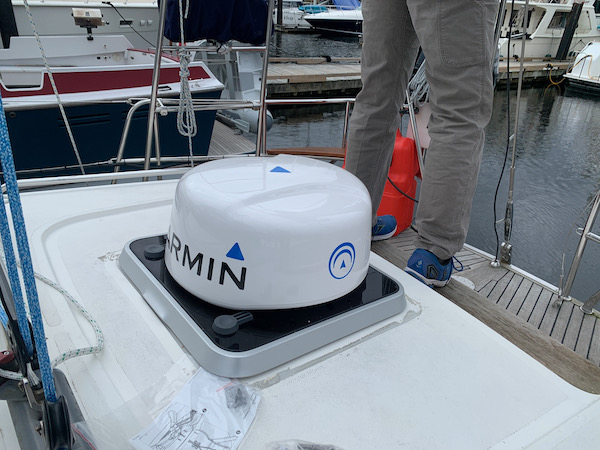
our new radar transceiver 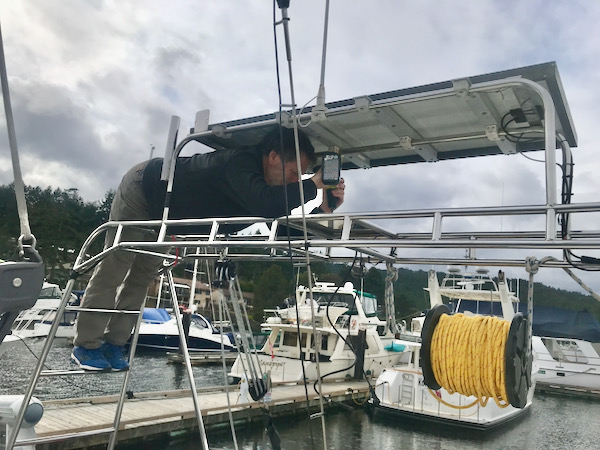
Rob drilling
As luck wouldn’t have it, the radar unit itself was a different shape and wouldn’t fit in the place of the old transceiver. In the end we had to drill new holes. The radar arch is made out of stainless steel. Stainless steel is used on boats because it is very strong, very hard and doesn’t rust. These same properties make it very hard to drill into. Drilling the holes took many hours and several trips to the local building centre to buy more drill bits because mine kept breaking. Not to worry. It got done. (The cuts on my hands healed up in a week or so.)

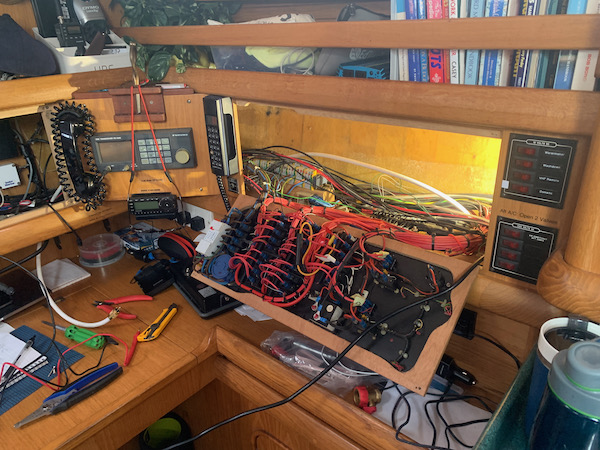
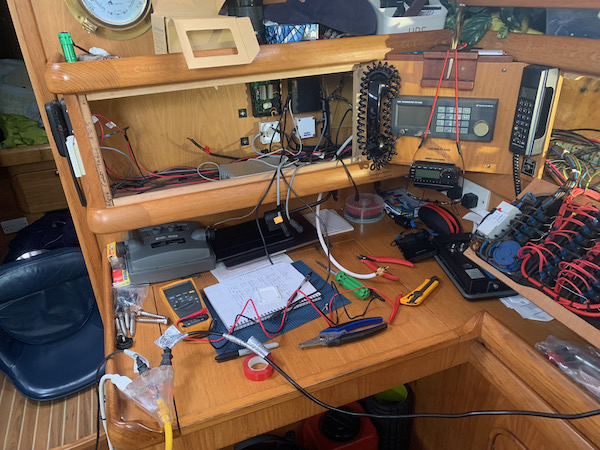
Next we had to mount the new MFD inside the boat. We wanted it inside at the navigation station with the rest of the electronics. The cabinets inside our boat are made of 3/8″ European White Oak plywood. The new MFD is a different shape than the old radar screen so we needed some new 3/8″ European White Oak plywood to match the surrounding cabinets and we needed to cut a hole in it to fit the new MFD. I headed to the building supply store.
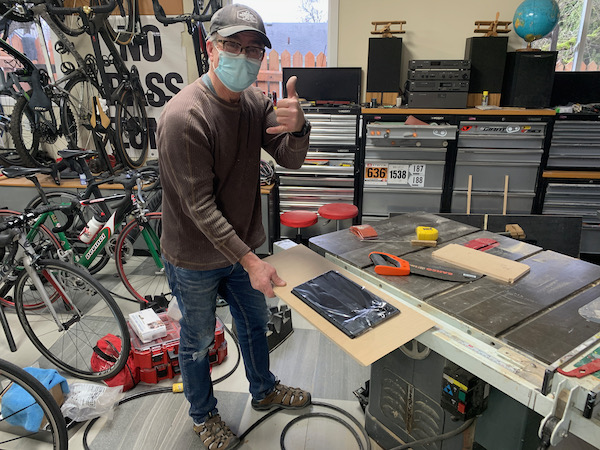
Our boat was made in England. It turns out that 3/8″ European White Oak is not available in Canada. I was told I could substitute American White Oak for the European White Oak and I was assured no one would notice the difference. Also, 3/8″ plywood is not available here. 1/2″ plywood is available or 3/4″ but not 3/8″. I tried several building supply stores and they all said the same thing. The suggestion was that I make my own 3/8″ wood by gluing a thin American White Oak veneer to a piece of 9mm birch plywood. I was assured it was a straight forward process. It’s amazing how easy the people that worked at the building supply store made it sound. It wasn’t. I watched a few YouTube videos and began gathering the materials I would need. Whenever I hit a roadblock I would text my friend David.
I have known David for years. David is a very good carpenter. He’s a master craftsman. Thankfully, he’s also very patient and generous. One afternoon after answering several of my texts he called and told me to take everything to his place on the following Saturday and we’d make my 3/8″ European/American White Oak plywood together. I took him up on his offer.
The truth be told, we didn’t make the 3/8″ European/American White Oak plywood together unless me standing there watching counts as we. David made it. Thanks to him it got done. All I needed to do was stain it to match the surrounding cabinets. This post has gone on long enough so I won’t go into the details of the various stains and finishes I purchased, tested and compared before I found a combination that closely matched the rest of the cabinetry.

A few weeks later an electrician came to the boat to wire in the new radar and MFD. It all works. It’s great to have it. Soon I will forget all the drama we had to get it.


